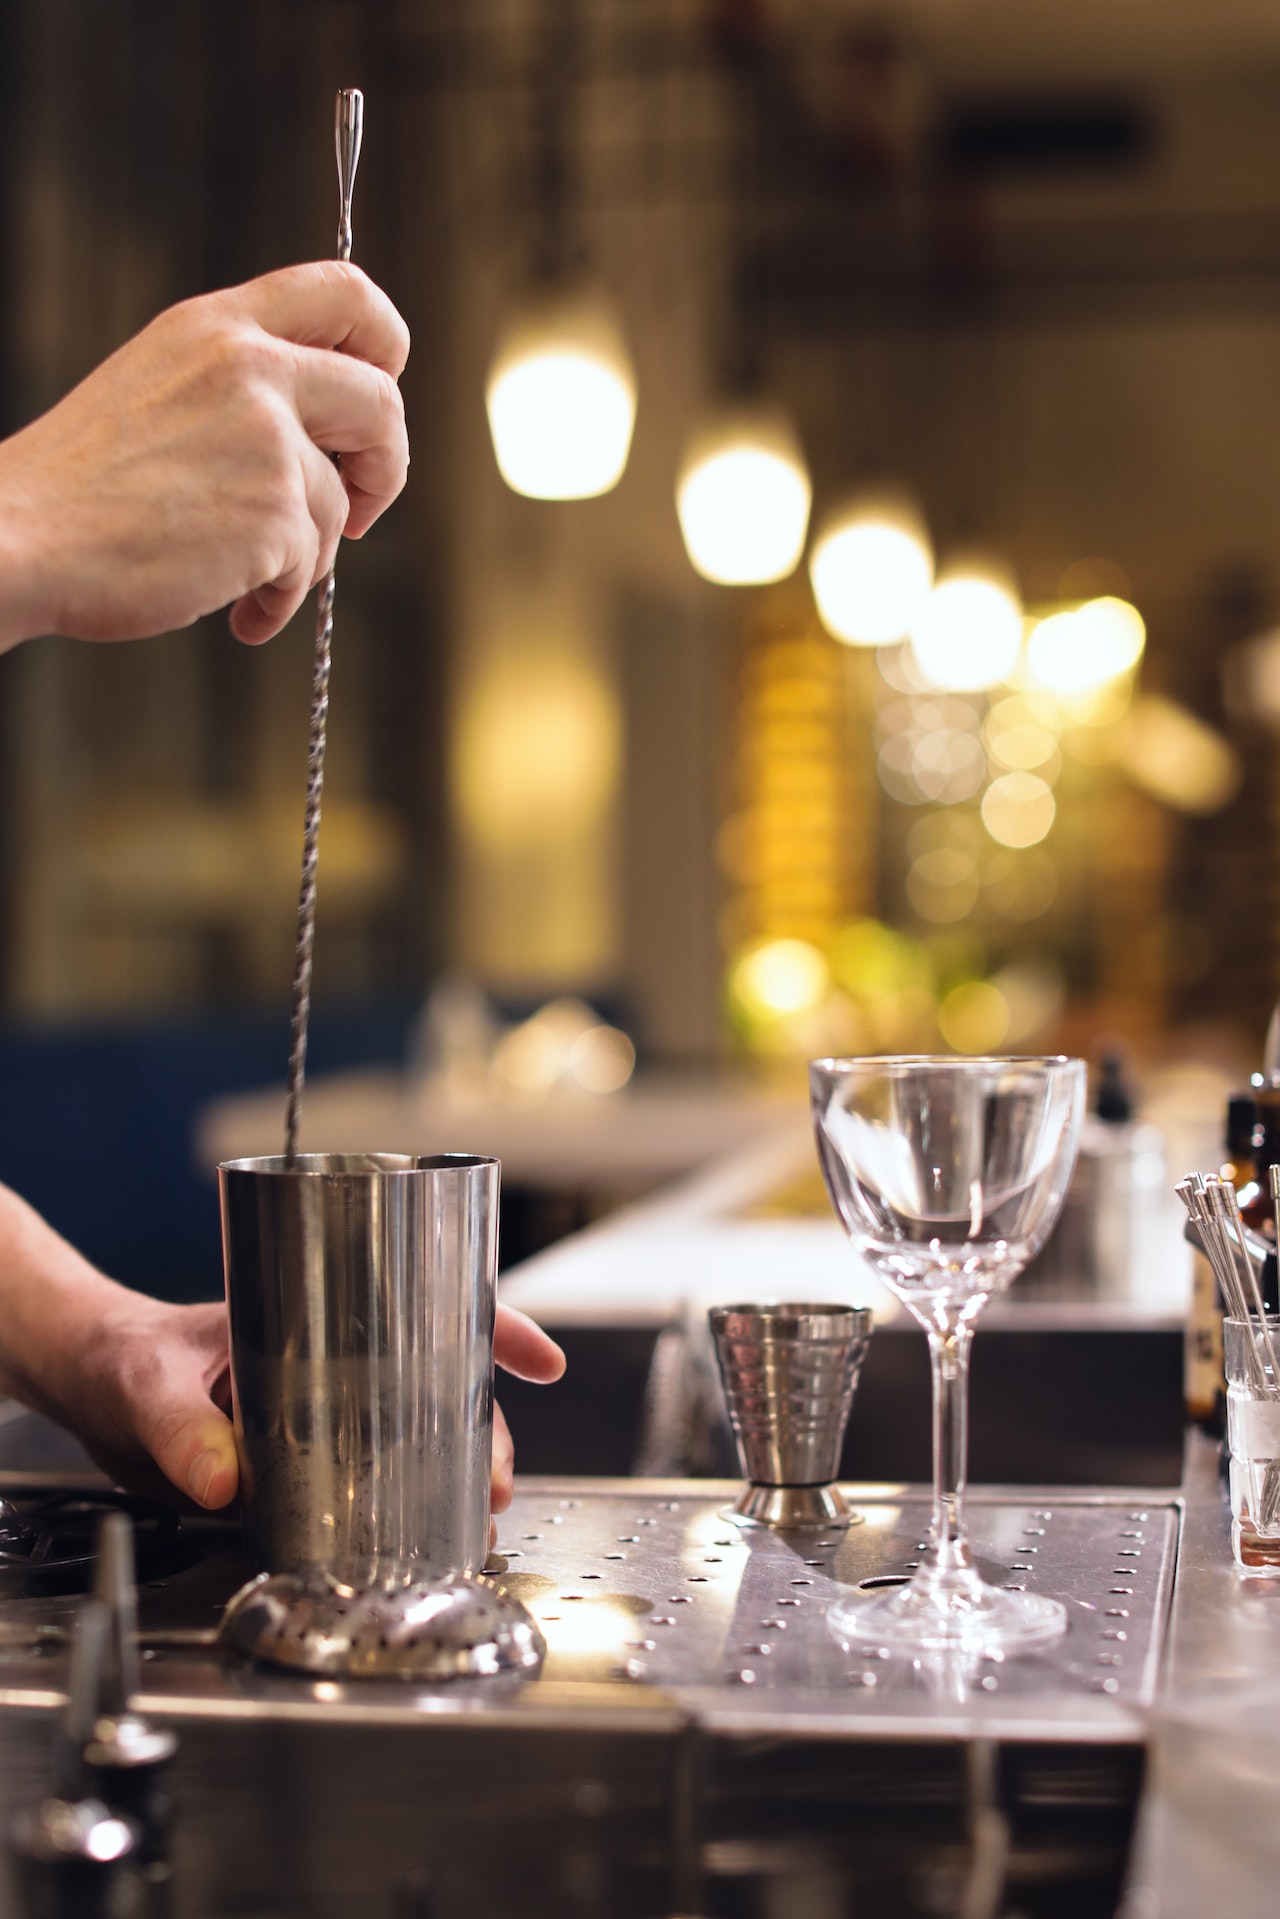
The humble cocktail shaker is a barware tool that has been around for centuries and is an indispensable part of any bartender’s arsenal. Whether you’re making a classic Martini or creating your own signature concoction, the right cocktail shaker can help make the entire process easier and more enjoyable.
But with so many types of shakers on the market, which one should you choose? Below, we’ll discuss how to choose the right cocktail shaker as well as how to prepare it for use.
How To Choose The Right Cocktail Shaker
When it comes to choosing a cocktail shaker, there are several factors that you should consider.
First and foremost, think about the volume or capacity of drinks that you typically serve. If you only ever make a single drink at a time, then a smaller, single-serving size could work well for you. On the other hand, if you tend to mix up drinks for groups of people, then investing in a larger model with more capacity is likely your best option.
Also think about what type (e.g Boston shaker), style, material and design features will be most beneficial for your needs. For instance, some people prefer sleek stainless steel models while others opt for vintage-style glass shakers with extra flairs such as stoppers and strainers.
Another important factor is quality – when it comes to investing in quality tools for mixing cocktails, don’t skimp out! Sure, cheaper models may look good at first, but they probably won’t last long or perform as well when it comes time to shake things up (literally!).
Investing in higher quality tools will ensure optimal results every time and can save you money over time since you won’t have to constantly replace them; plus they often come backed with warranties, which means even more value for your money!
Preparing Your Cocktail Shaker For Use
Once you have your perfect cocktail shaker selected (or perhaps more than one!), it’s important to prep it correctly before using it every time.
Start by filling it completely with either ice cubes or crushed ice before beginning the mixing and shaking process– This helps lower the temperature of whatever ingredients are placed inside, which improves flavor outcomes and overall drink experience.
Measure out all your ingredients (such as alcohol base and mixers) accurately before pouring them into your cocktail shaker with precision and accuracy – This helps ensure super flavorful results! Finally, add any additional garnishes or decorations you want; this helps create an aesthetically pleasing final aesthetic.
Tips On How To Use A Shaker Like A pro
Using a cocktail shaker like a pro is essential for any home bartender who wants to create delicious, flavorful drinks every time. Although the basics of using a shaker are simple, there are important techniques and tips to consider if you want to master it.
Once you’ve mastered the basics, experiment with different movements during your shake and get creative: Try rotating or twisting your shaker, side-to-side movement or even shaking while holding the shaker upside down (ideally while using a metal tin that won’t leak!). Be sure to maintain control over your tool at all times, and remember that practice makes perfect – The more you do it, the better you’ll get!
When it comes to knowing when to stop shaking, make sure you allow enough time for proper cooling without overdoing it – excessively long or aggressive shakes will cause unwanted dilution of your drink’s flavor.
A good rule of thumb is to look out for condensation on both sections of your shaker: Once both sides have accumulated some drops of liquid, then you can be sure that your cocktail is properly chilled and ready for drinking. Typically, you shake from 10-15 seconds, as a guideline.
At first glance, selecting the right cocktail shaker may seem overwhelming due to all the various options available on the market today – But hopefully this guide has helped narrow down your search.
Don’t forget to properly prepare your new mixology tools before beginning; filling them with ice beforehand will help keep temperatures low during preparation. With these tips in mind, we hope you find success on your next beverage-crafting adventure.
You may be interested in: 9 Easy Ways to Do Laundry like A Pro

