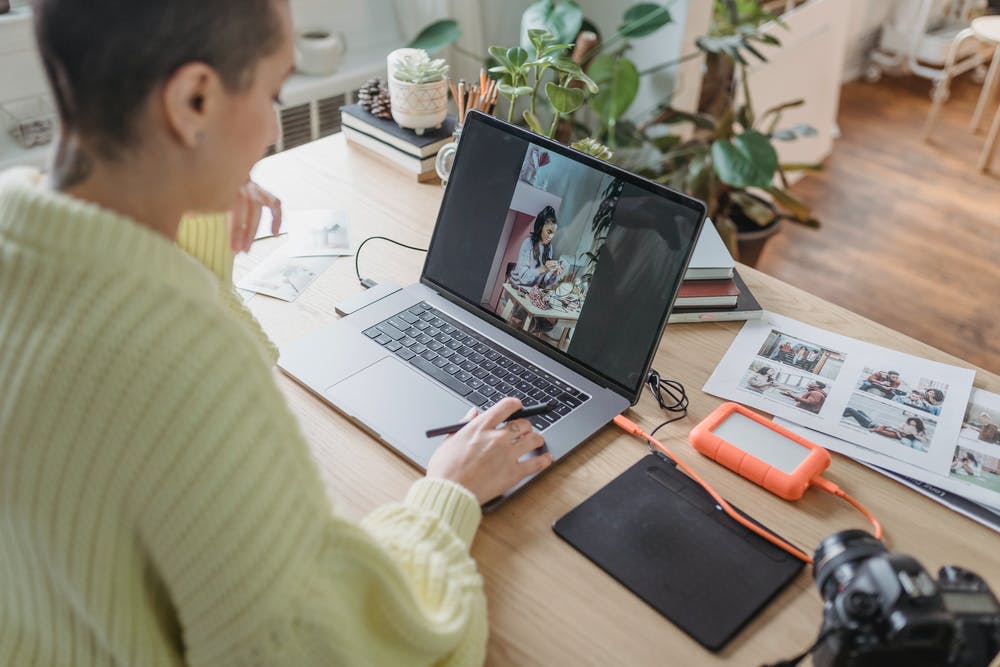
This guide will to introduce some of the most important photo editing tools, which you can use to enhance your photos. We hope that this guide will be helpful for everyone.
Image resolution
Image resolution is one of the vital aspects before starting photo editing. If it’s too high, the file size gets too huge and takes much time for processing; if its too low, images lose their sharpness and clarity; so it’s important to choose an image with ideal dimensions (ratio) for editing.
Image resolution has a huge role in photo editing! If you’re processing high resolution images then resize them to lower dimensions using online tools like tinypng . For 19x13cm print size we recommend an ideal dimension of 3000px*2000px which can be easily processed and printed. Once you’re done with final touches optimize images again (save as JPEG). After that save 100+ images collectively in a separate folder.
Color calibration
A common mistake many make is they edit photos like a painting. If your picture has strong shadows or dark colors then don’t try to change that into white or light colors as it may look unrealistic after saving! Colors are already set in an image but since your monitor displays colors differently, you may not be able to see the real colors. That’s where color calibration comes into play- with proper calibration, you can get an idea of what final saved photo would look like.
Color calibration is very important as it decides how the recorded image will look on your screen or print. You can calibrate your monitor via graphics card control panel. For better understanding follow this link (in step 2 choose “Basic and advanced display settings”).
Adjusting exposure
Another interesting thing about photo editing is adjusting exposure (levels). What exposure actually is? When photos are captured by camera using its exposure time, some parts appear darker or brighter than others thus affecting overall image quality; exposure adjustment tool helps to overcome this issue-so it’s better to use it while processing your photo. There are also tools you can use to remove background of your photos, which can be useful for marketing purposes.
Photo enhancement
Photo enhancement is an important step in post-processing, where you give finishing touches to already processed images. Enhance photos by removing dust & scratches, cloning out objects or changing sky colors etc. You can also change focus of pictures using this tool.
These tips help you increase your editing capabilities without having the knowledge of every tool available in all image editor softwares (Photoshop, GIMP, Paint etc). It’s not necessary that every photo need all the corrections; depending on situation adjust image accordingly after making necessary changes in exposure, color calibration etc. You can also use Desygner in editing your photo to create awesome images with thousands of free templates to use.
Save as JPEG
Final step is saving your photo-JPEG format is best for saving images because it saves all the information present in your image but on other hand BMP & PNG files are lossless formats so they look near to original image after editing. However JPEG is widely used because it reduces image size while saving.
You may be interested in: Video Editing Tools Are More Popular Than Ever

