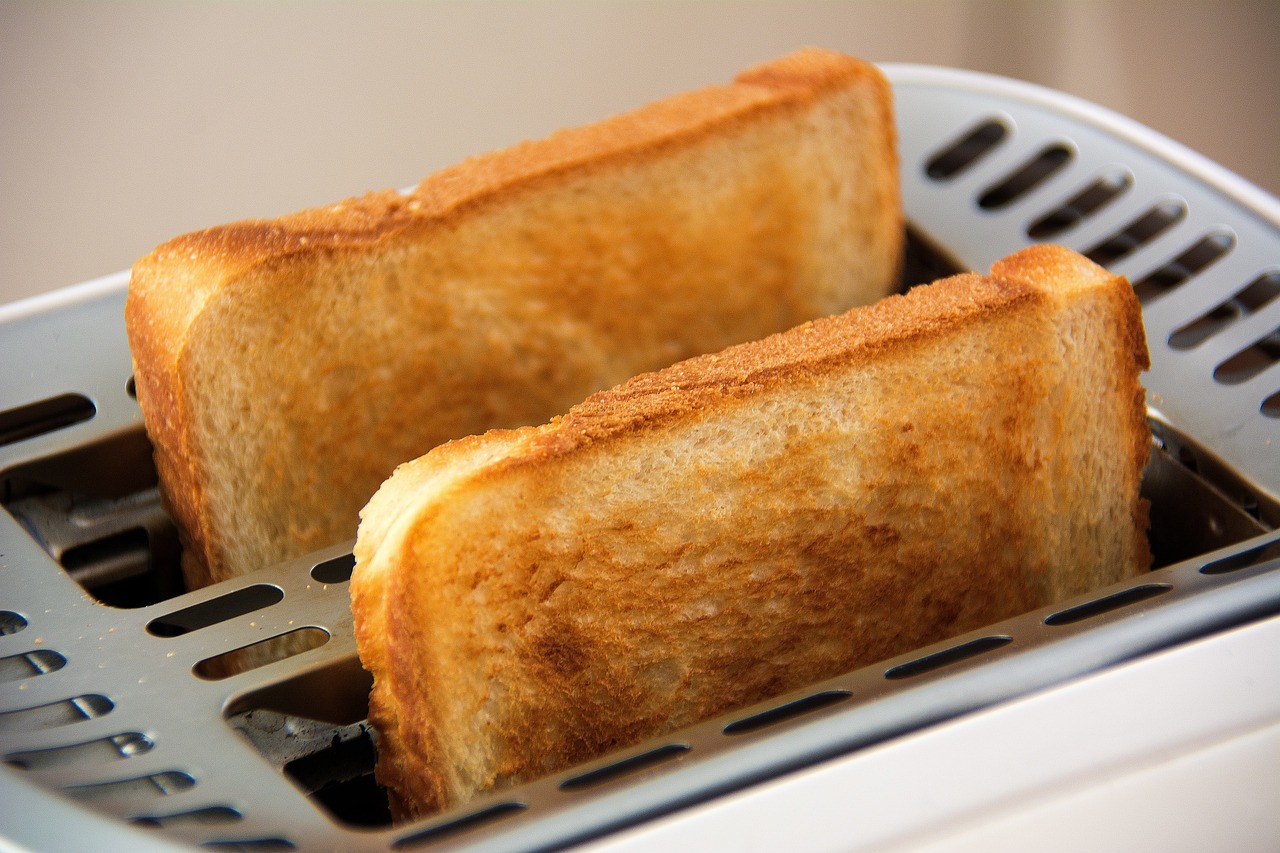
The Best Toasters are a staple appliance in most kitchens, providing a quick and easy way to achieve perfectly crisp slices of bread, bagels, and other breakfast favorites. However, over time, crumbs, grease, and other debris can accumulate inside the toaster, leading to unpleasant odors, smoke, and even potential fire hazards. To keep your toaster functioning at its best and maintain a hygienic kitchen environment, it’s essential to know how to clean it properly. In this article, we’ll provide you with a step-by-step guide on how to clean your toaster effectively and safely.
Step by Step Guide
Step 1: Gather Your Cleaning Supplies
Before you begin cleaning your toaster, gather the following supplies:
- Unplugging device (if necessary)
- Soft-bristled brush or old toothbrush
- Damp cloth or sponge
- Mild dish soap
- Baking soda (optional)
- Vinegar (optional)
- Rubber gloves (optional)
Step 2: Unplug and Cool Down
Always unplug your toaster before cleaning to avoid the risk of electric shock. If you’ve recently used the toaster, allow it to cool down completely before proceeding with the cleaning process. This will prevent any accidental burns and ensure that the cleaning process is safe and effective.
Step 3: Remove and Empty the Crumb Tray
The best toasters have a removable crumb tray located at the bottom of the appliance. This tray collects the crumbs and debris that fall from the bread during the toasting process. To clean the crumb tray:
- Gently pull out the crumb tray from the bottom of the toaster.
- Shake the tray over a trash can to discard the loose crumbs.
- Wash the tray with warm, soapy water and a soft sponge or cloth.
- Rinse the tray thoroughly and dry it completely before reinserting it into the toaster.
Step 4: Clean the Interior
To clean the interior of your toaster, follow these steps:
- Hold the toaster upside down over a trash can or sink and gently shake it to remove any remaining crumbs or debris.
- Use a soft-bristled brush or an old toothbrush to dislodge any stubborn crumbs or debris stuck in the slots or corners of the toaster.
- For a deeper clean, mix a paste of baking soda and water, and apply it to the interior surfaces using the brush. Let the paste sit for a few minutes before wiping it away with a damp cloth.
- If there are any tough grease stains, mix equal parts vinegar and water in a bowl. Dip a cloth into the solution and wring it out before wiping down the affected areas.
Step 5: Clean the Exterior
To clean the exterior of your toaster:
- Wipe down the outside of the toaster with a damp cloth or sponge. For stubborn stains, add a few drops of mild dish soap to the cloth.
- Pay special attention to the knobs, levers, and buttons, as these areas can accumulate grease and grime over time.
- Use a dry cloth to wipe away any remaining moisture and buff the surface to a shine.
Step 6: Reassemble and Test
Once you’ve completed the cleaning process, make sure all parts of the toaster are completely dry before reassembling the appliance. Reinsert the crumb tray and plug the toaster back in. Test the toaster by running a cycle with a slice of bread to ensure it’s working properly and there are no remaining odors or residue.
Tips for Maintaining a Clean Toaster
- Clean your toaster regularly, ideally every few weeks or as needed, to prevent the buildup of crumbs and grease.
- Always unplug the toaster and allow it to cool before cleaning.
- Never submerge your toaster in water or place it in the dishwasher, as this can cause electrical damage and create a safety hazard.
- Use a toaster cover or store the toaster in a clean, dry place to minimize dust and debris accumulation between uses.
Final Thoughts
Cleaning your toaster may seem like a mundane task, but it’s essential for maintaining a safe, hygienic, and well-functioning kitchen. By following the step-by-step guide outlined in this article, you can easily and effectively clean your toaster, removing crumbs, grease, and other debris that can compromise its performance and create potential hazards. Regular cleaning not only extends the life of your toaster but also ensures that your breakfast favorites are always toasted to perfection. So, take a few minutes to give your toaster the care and attention it deserves, and enjoy the benefits of a spotless and efficient appliance for years to come.
For trusted product advice and informative articles on all things kitchen-related, visit Kitchen Deals 4U. Their team of experts provides in-depth reviews, comparisons, and guides to help you make the best decisions when choosing appliances, tools, and accessories for your culinary needs.

