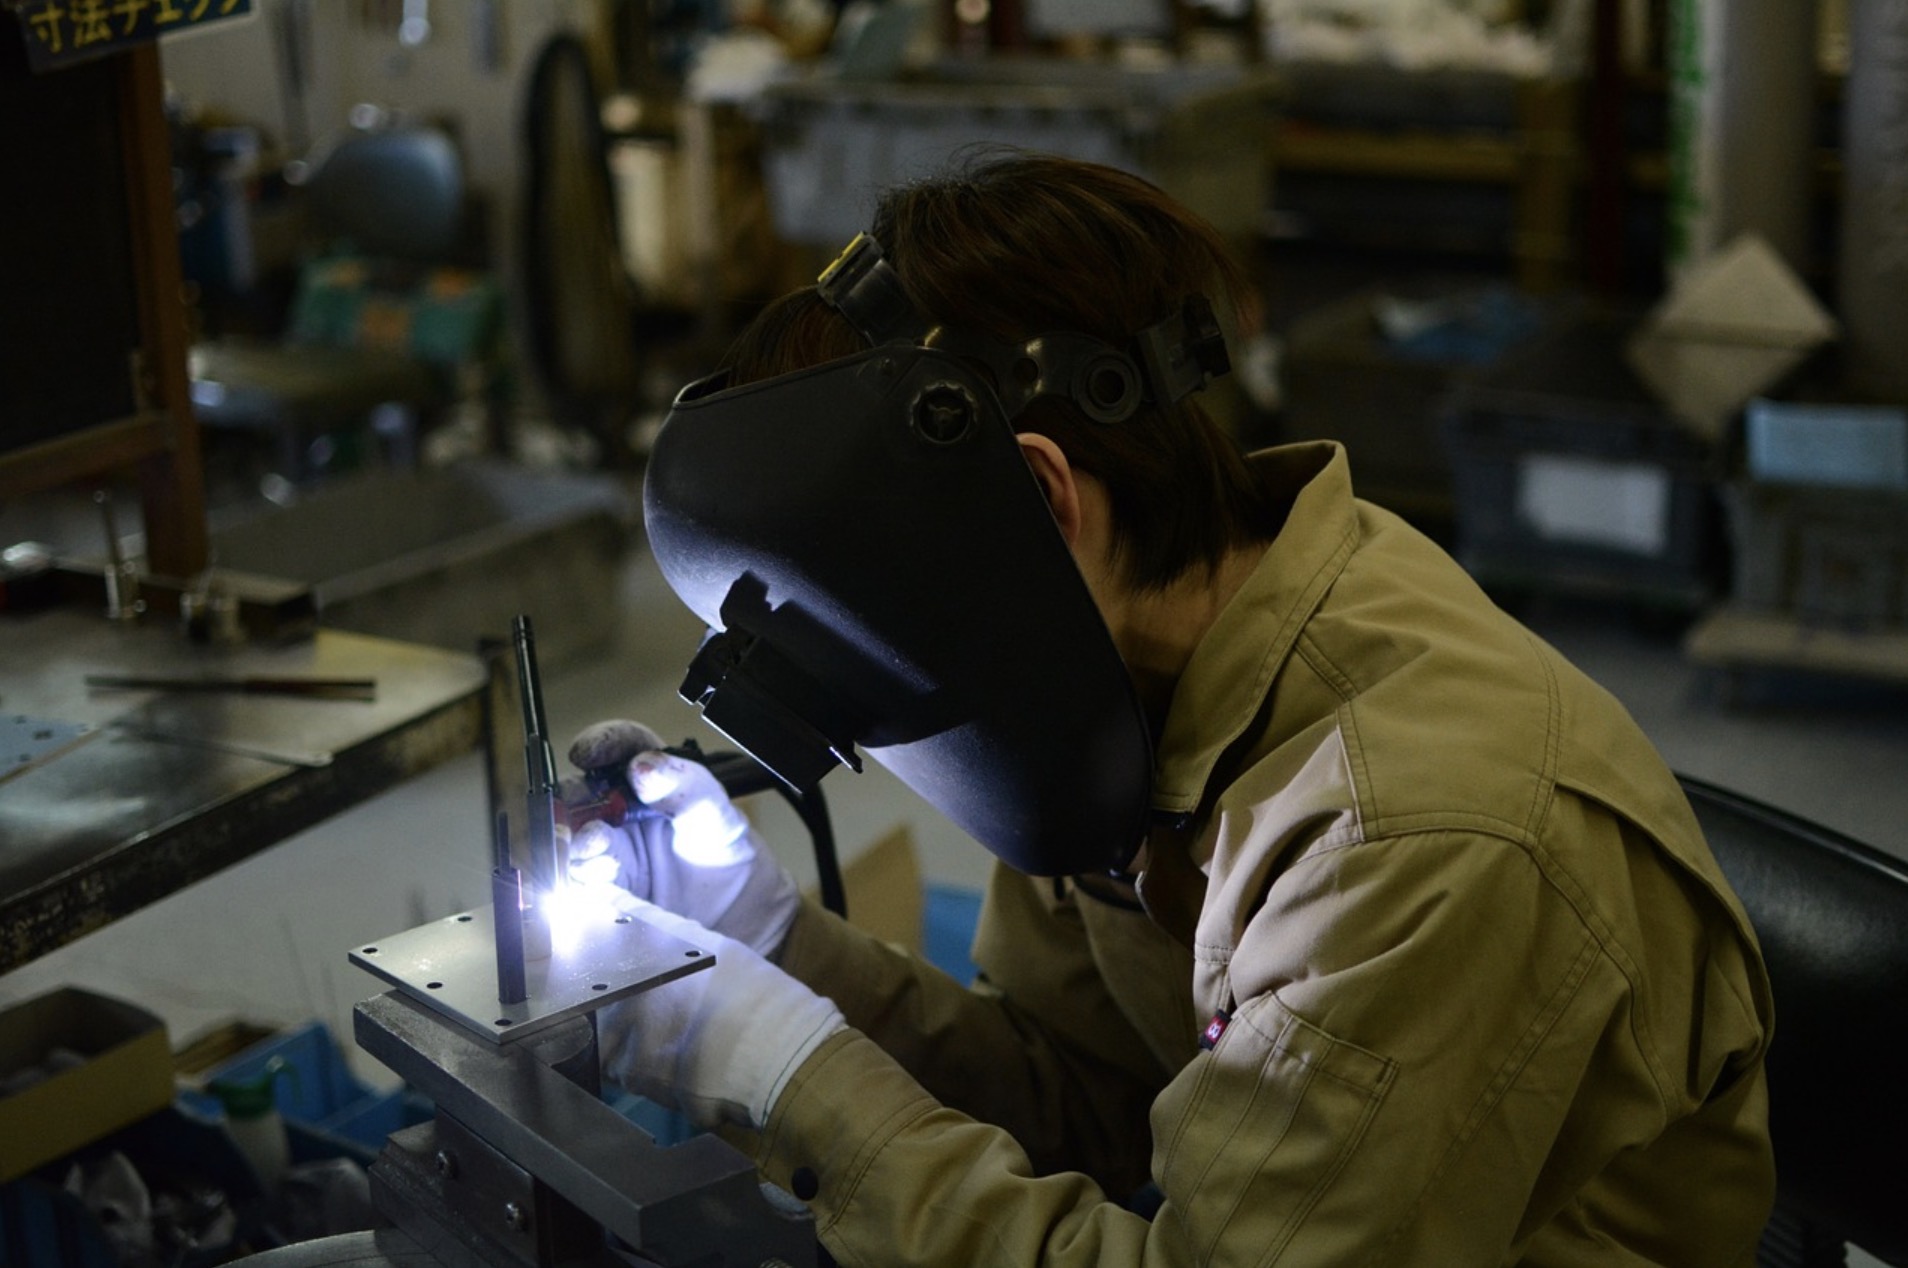
What are the various types of welding defects?
Defects often affect the strength and quality of welding, and the most common ones include:
- Arc strikes result from faulty ground connections or incorrect welding procedures leading to a liquified metal. This causes some discontinuities on the surface, which can eventually cause cracks.
- Porosity is the outcome of environmental contamination of welds with dirt and impurities or arc striking that takes too long. These causative agents trap air bubbles within welds, causing a reduced bonding strength for the welds.
- Inadequate joint penetration arises when welding material, power, or heat is adequate for the welding works. This results in a lack of proper joining of the constituent parts and a weakened joint.
- Overlap is when excessive weld deposits are on the base metal exterior due to wrong weld size, slow movement, or misdirecting the arc.
- Incomplete fusion happens due to an inappropriate welding speed or the wrong choice of welding metal. The result is an improper bond between the welded materials.
- Inclusions often occur when the welding arc has been manipulated incorrectly or when there has been an improper cleaning of slag, rust, or scale on the welded surface. What you get is the inclusion of these weakening agents in the weld causing a compromise of the weld strength.
Why we need an X-ray to inspect welding?
X-ray inspection of welding is a non-destructive test (NDT) that allows the use of the tested product after its inspection. It is unlike destructive methods that make the product unfit for use after testing.
Though there are other NDTs for inspecting welds’ integrity, the x-ray inspection benefits outweigh all other NDTs for welding inspection.
One reason is the ease of inspection using an x-ray as there is no strenuous activity for the inspector. All the major work is done using an X-ray machine. At the same time, the inspector only must view the resulting image for analysis.
Another reason is the access to internal and hidden parts of the welds by the x-ray machine. The human eye cannot see the inner welded section of a cylinder, for instance. Nevertheless, the x-ray can give the images that show these hidden parts for the inspector to analyze.
The accuracy of the x-ray in depicting the real state of the welded section is very high. This precision is based on the rate of absorption of x-rays given by the inspected material’s densities and thickness.
Finally, is the ease of interpretation of the image resulting from the x-ray machine. Although inspectors are trained to interpret and analyze these results, it isn’t so challenging to become one.
How to use an X-ray for welding inspection?
Carrying out an X-ray welding inspection requires the use of an X-ray machine, the components parts of which are three. These parts include a platform, an X-ray tube, and a detector.
The inspection often starts with laying the inspected material on the platform to observe it at different angles and views. Platforms are often rotatable and can be tilted at different angles for better viewing.
The x-ray tube then passes x-ray photons through the inspected material resulting in a projected image on the detector.
This image is based on the inspected material’s absorption of the x-ray photons where denser sections absorb more photons while less dense areas absorb fewer photons.
The image helps to analyze the welds for defects based on how dark or light the welds appear on the image as defects such as cracks and porosity are noted as dark areas.
Other defects, such as the inclusion of slags, also appear as dark spots on the image, while areas with low-density inclusion appear as light areas on the film.
Other discontinuities appear in varying shapes based on the type of discontinuity, and internal defects are also recognized based on their absorption of the photon energy released.
Conclusion
In a nutshell, X-ray inspection affords the inspector and the company to ascertain the quality of welded works with minimal effort and remarkable precision. This will save the company in cost and time-wasting in delay caused by poorly inspected welding.
However, a meticulous examination of the x-ray machine and its manufacturing company is critical to get the right x-ray machine needed for the job.
Uni X-ray offers an exceptional range of after-sales services, such as online video instructions and installation guides for our customers to ensure that their new or existing equipment is in safe and good operating mode.


