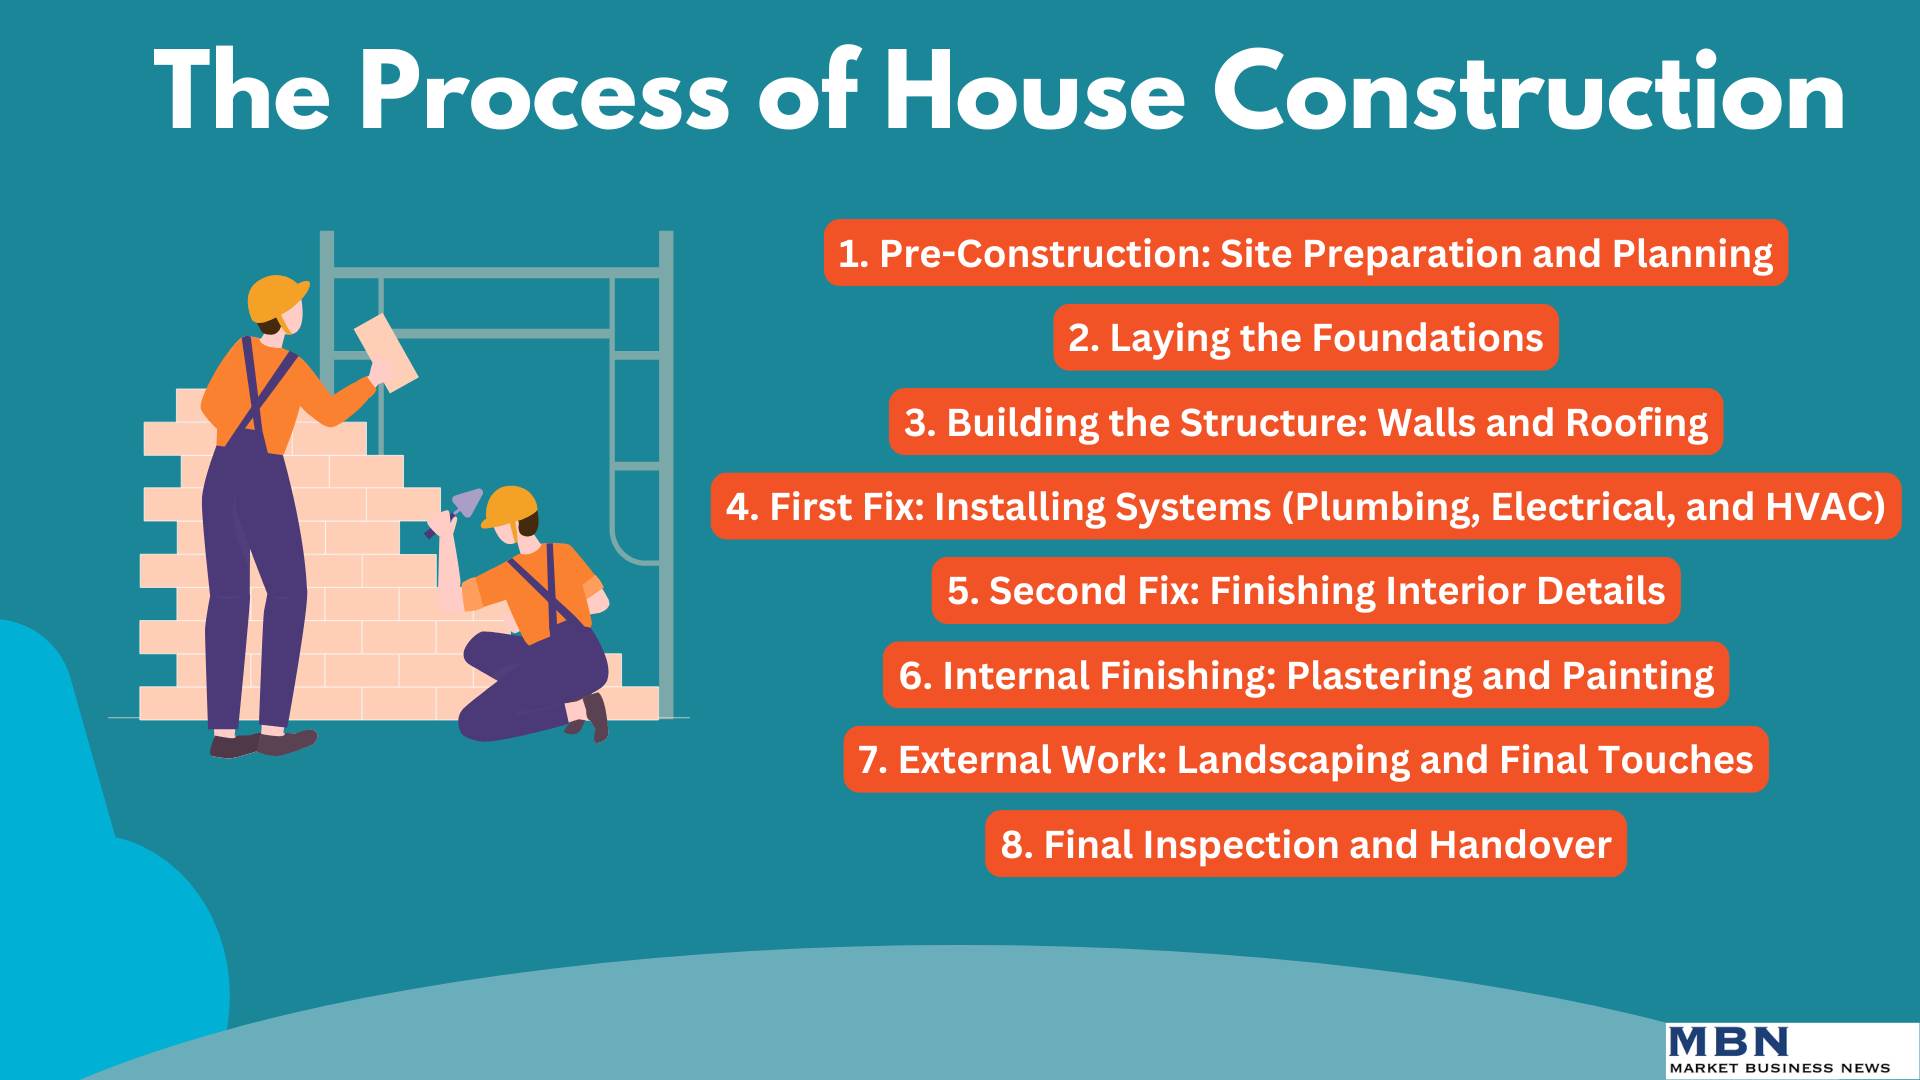
Building a home from the ground up can be a rewarding yet complex experience. Understanding each phase of construction is key to staying on schedule, managing tradespeople effectively, and ensuring the final build meets your expectations. Whether you’re overseeing the project yourself or working with a team of professionals, knowing what to expect can help prevent delays and costly mistakes.
This guide breaks down the main stages of home construction, offering detailed insights and practical advice at each step.
1. Pre-Construction: Site Preparation and Planning
Before construction begins, several critical tasks need to be completed to ensure the site is ready for building. Proper site preparation includes not only clearing the land but also making sure essential utilities and access points are in place.
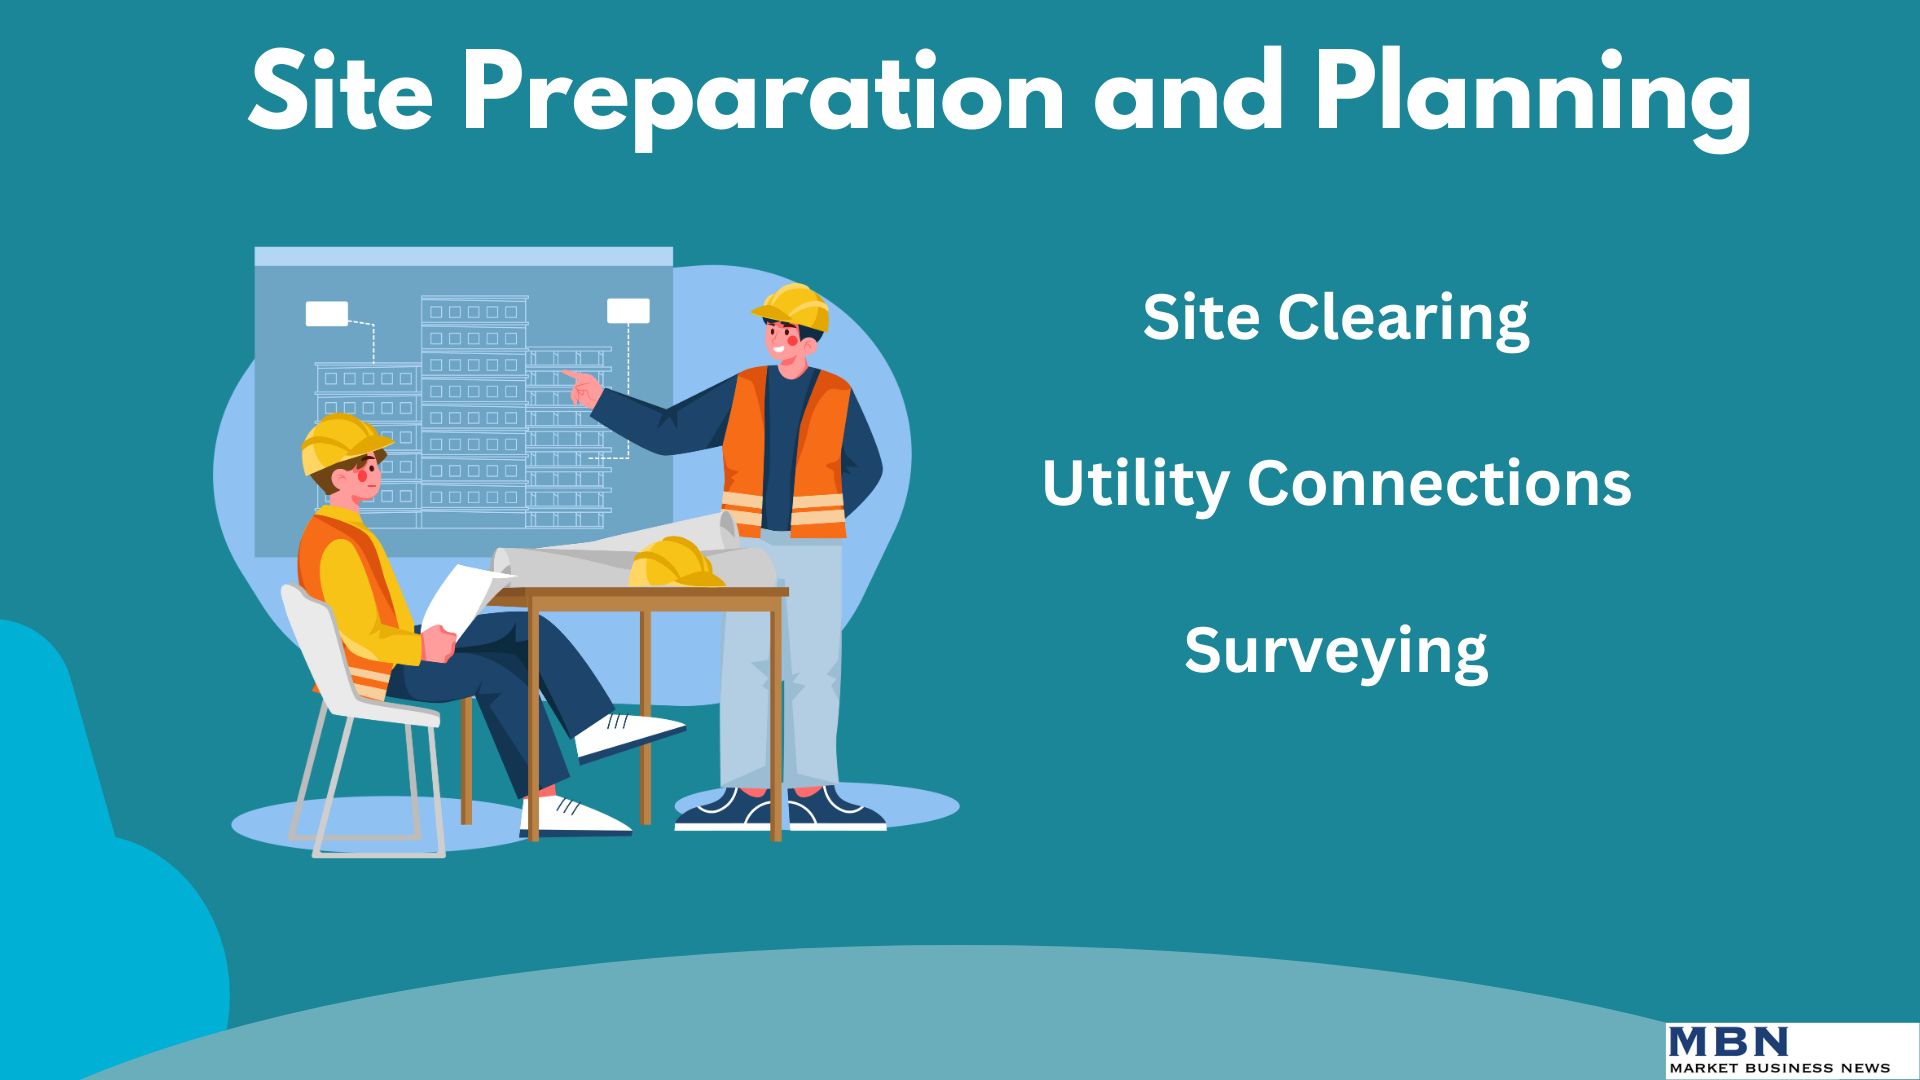
Key Steps:
- Site Clearing: Remove any vegetation, debris, or structures from the land. This may include tree removal and leveling the site.
- Utility Connections: Ensure water, electricity, and waste disposal systems are accessible. A temporary site office and sanitary facilities should be set up.
- Surveying: A surveyor will mark the exact boundaries and layout of the house on the cleared land. This step is crucial for ensuring the foundations are placed correctly.
Real-World Tip: Unexpected underground conditions, such as poor soil or hidden water sources, can delay the project. Having a geotechnical survey conducted early can prevent surprises later.
To help budget for exterior finishes, consider using a house rendering cost calculator to estimate expenses for different rendering options early in the planning process.
2. Laying the Foundations
The foundation is the structural base of your home and one of the most important steps in the construction process. The type of foundation you choose will depend on the soil conditions and the design of the house.
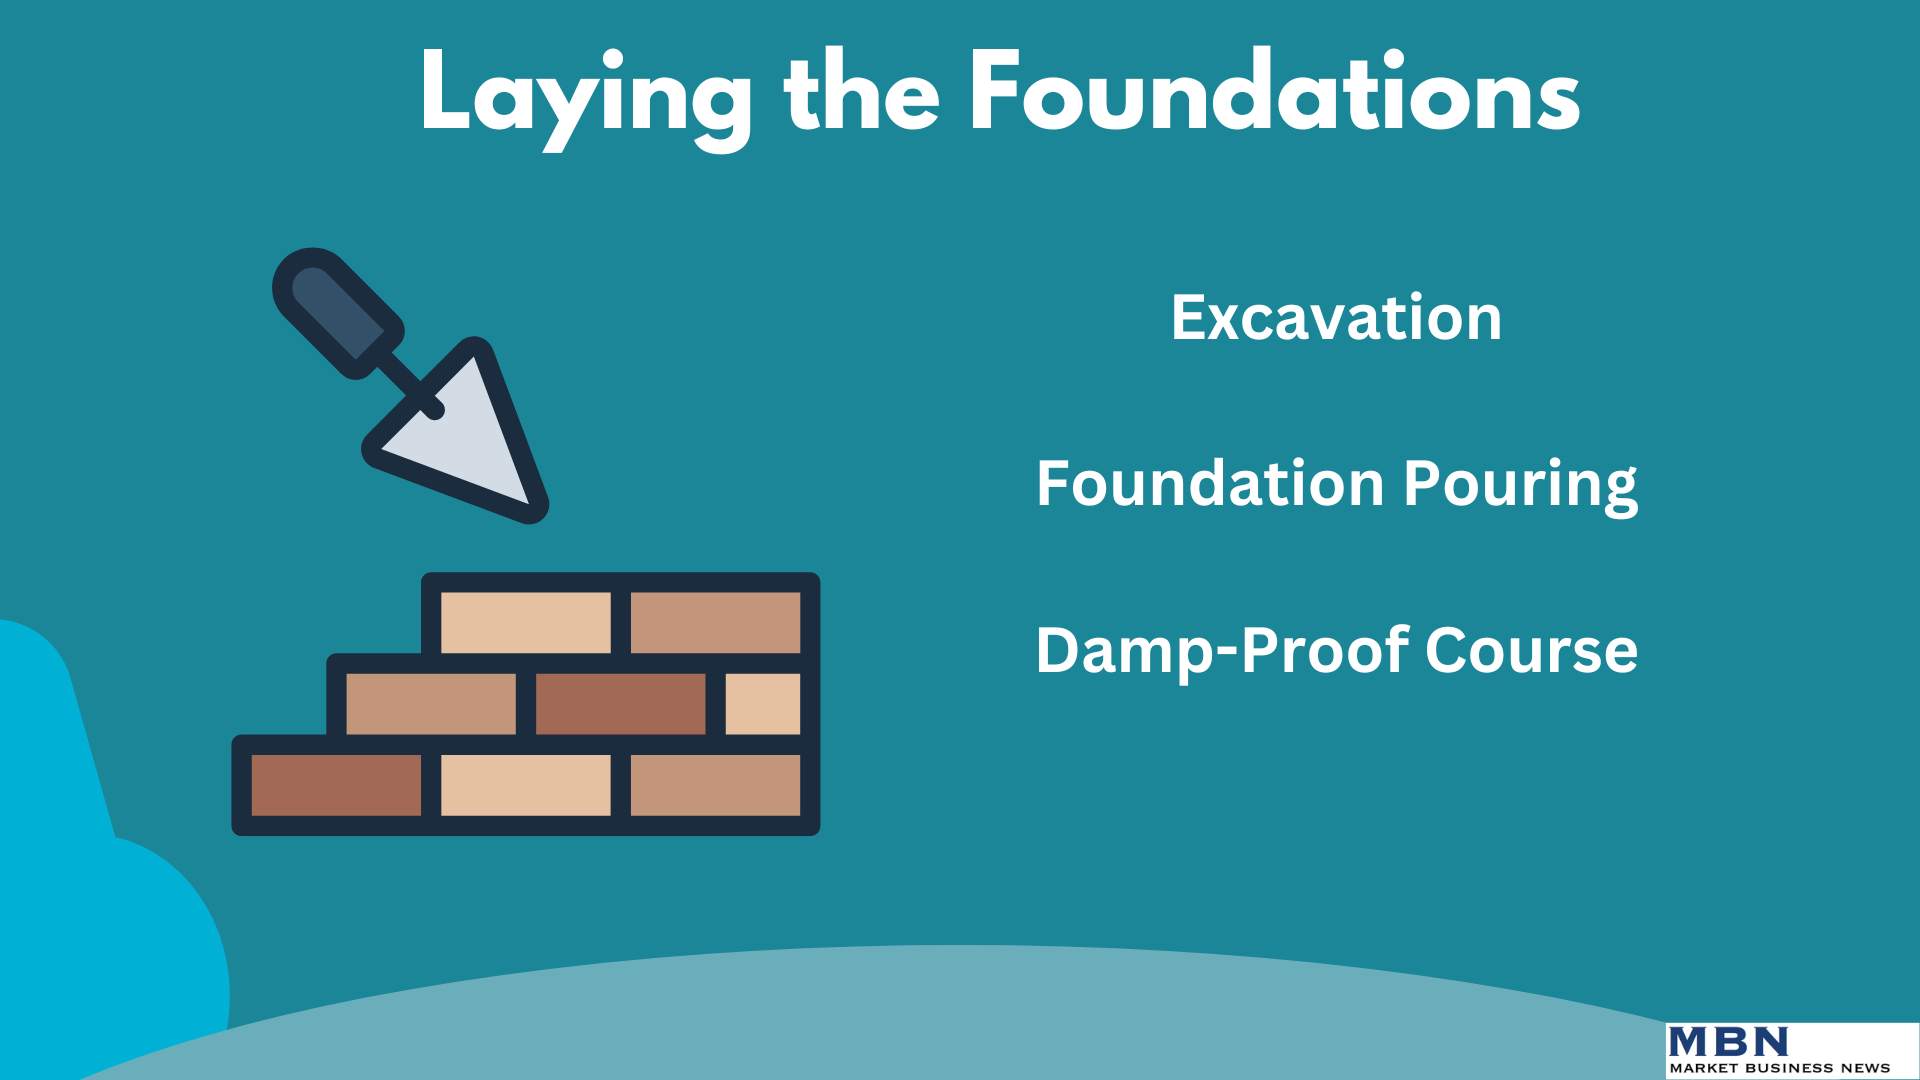
Key Steps:
- Excavation: Trenches are dug for the foundation, which may be shallow or deep, depending on the soil and design.
- Foundation Pouring: Concrete is poured into the trenches, often reinforced with steel bars (rebar) to provide additional strength. This is followed by blockwork to create a stable base.
- Damp-Proof Course: To prevent moisture from seeping into the home, a damp-proof membrane is installed between the foundation and the rest of the structure.
Common Challenges: Ground conditions can greatly affect the foundation type and cost. For example, rocky or unstable soil might require deeper foundations or additional reinforcements, which could add to both the timeline and budget.
3. Building the Structure: Walls and Roofing
Once the foundation is in place, work on the superstructure—essentially the skeleton of the house—can begin. This includes the construction of walls, floors, and the roof.
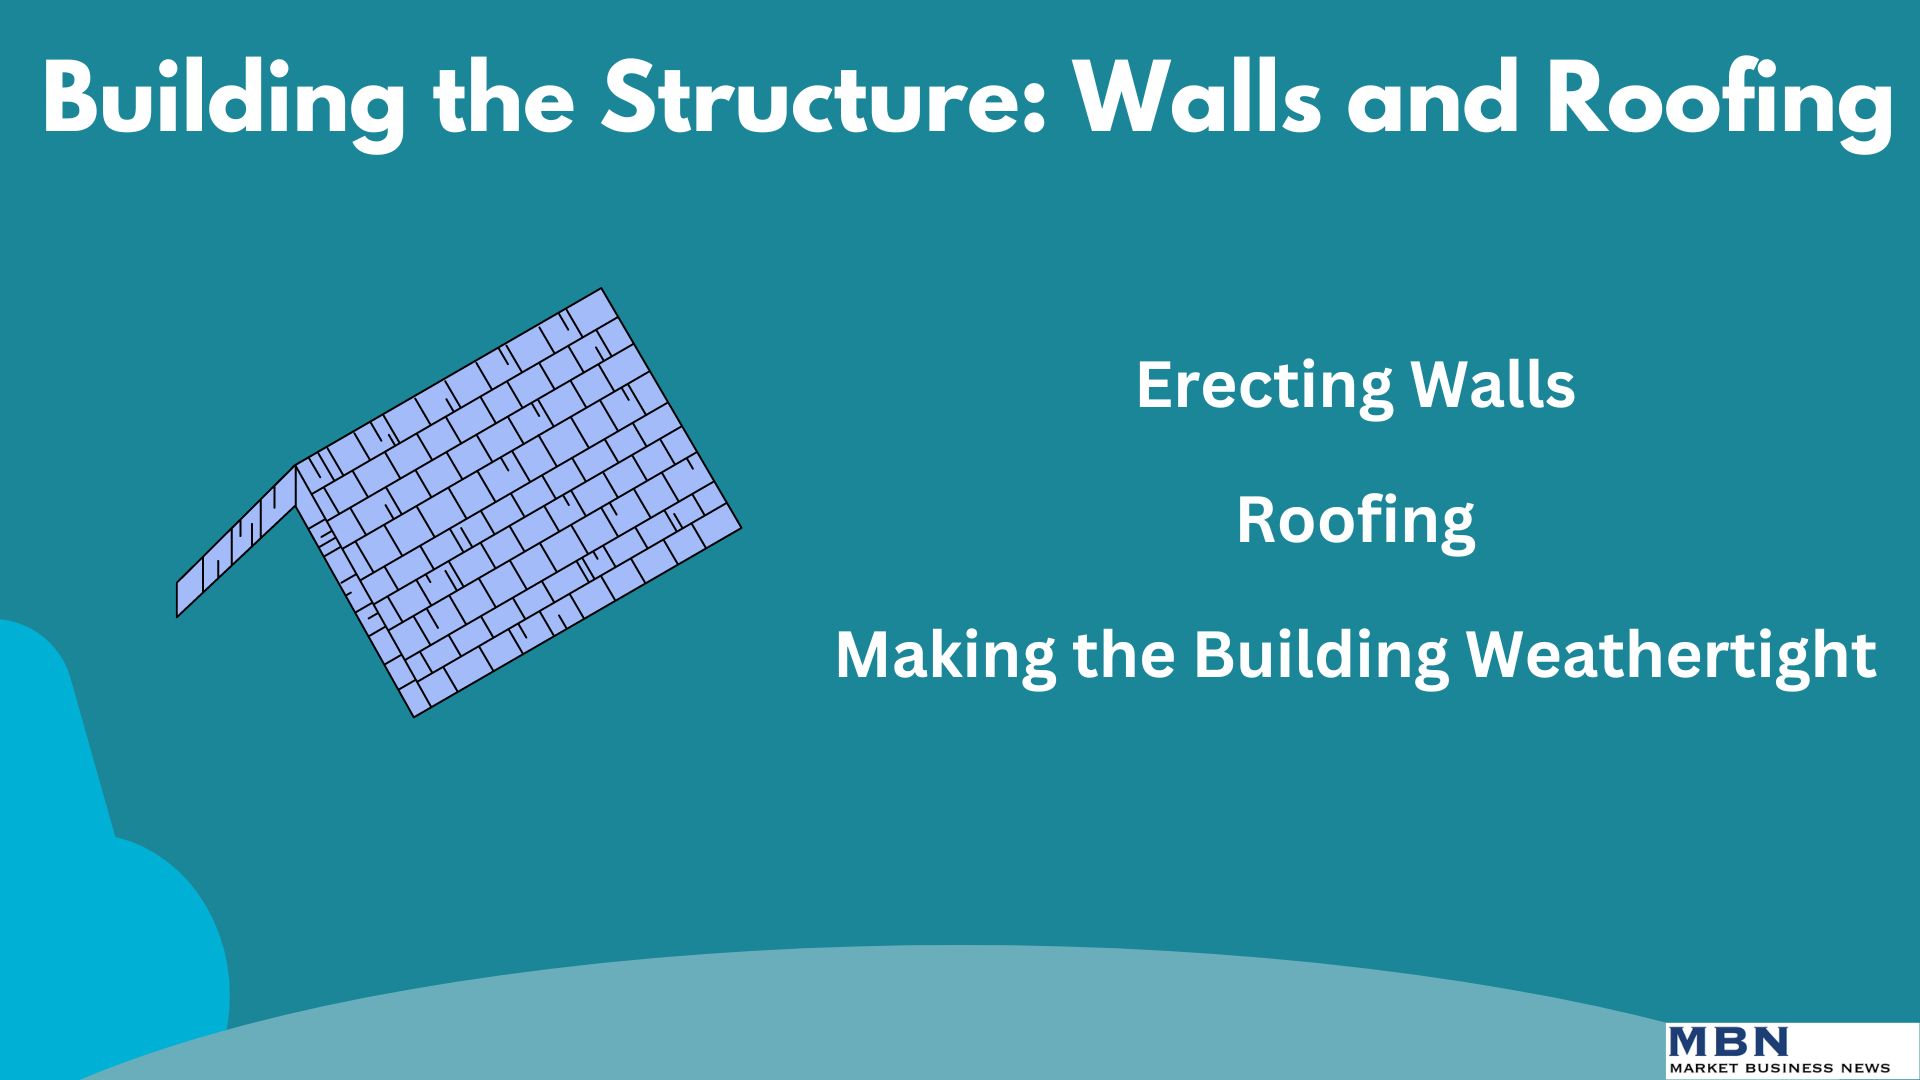
Key Steps:
- Erecting Walls: Walls are built using brick, block, or timber, depending on your home design. Openings for windows and doors are left at this stage.
- Roofing: After the walls are up, roof trusses or rafters are installed, followed by the roof covering (such as tiles or shingles). Roofers also install any necessary insulation or ventilation systems.
- Making the Building Weathertight: At this stage, doors and windows are installed to protect the interior from the elements, officially making the building “weathertight.”
Pro Tip: Many builders aim to complete this stage before the onset of poor weather conditions, as this ensures that internal work can continue uninterrupted.
4. First Fix: Installing Systems (Plumbing, Electrical, and HVAC)
The “first fix” refers to the installation of essential systems like plumbing, electrical wiring, and heating or air conditioning (HVAC) infrastructure. This phase takes place before walls are plastered and floors are laid, allowing tradespeople to hide pipes and wires inside walls and floors.

Key Steps:
- Plumbing: Water supply and drainage pipes are installed, along with systems for heating, such as underfloor heating or radiators.
- Electrical: Electrical wiring for outlets, lighting, and appliances is laid out, along with systems for home security or smart home devices.
- HVAC: Ductwork and units for heating and cooling are installed.
Common Pitfall: Delays in first fix installations can cause a domino effect, postponing plastering, flooring, and other finishing tasks. To avoid this, ensure all tradespeople are properly coordinated.
5. Second Fix: Finishing Interior Details
The second fix focuses on making the home livable by adding fixtures and fittings. This stage transforms the rough construction into a functional home.
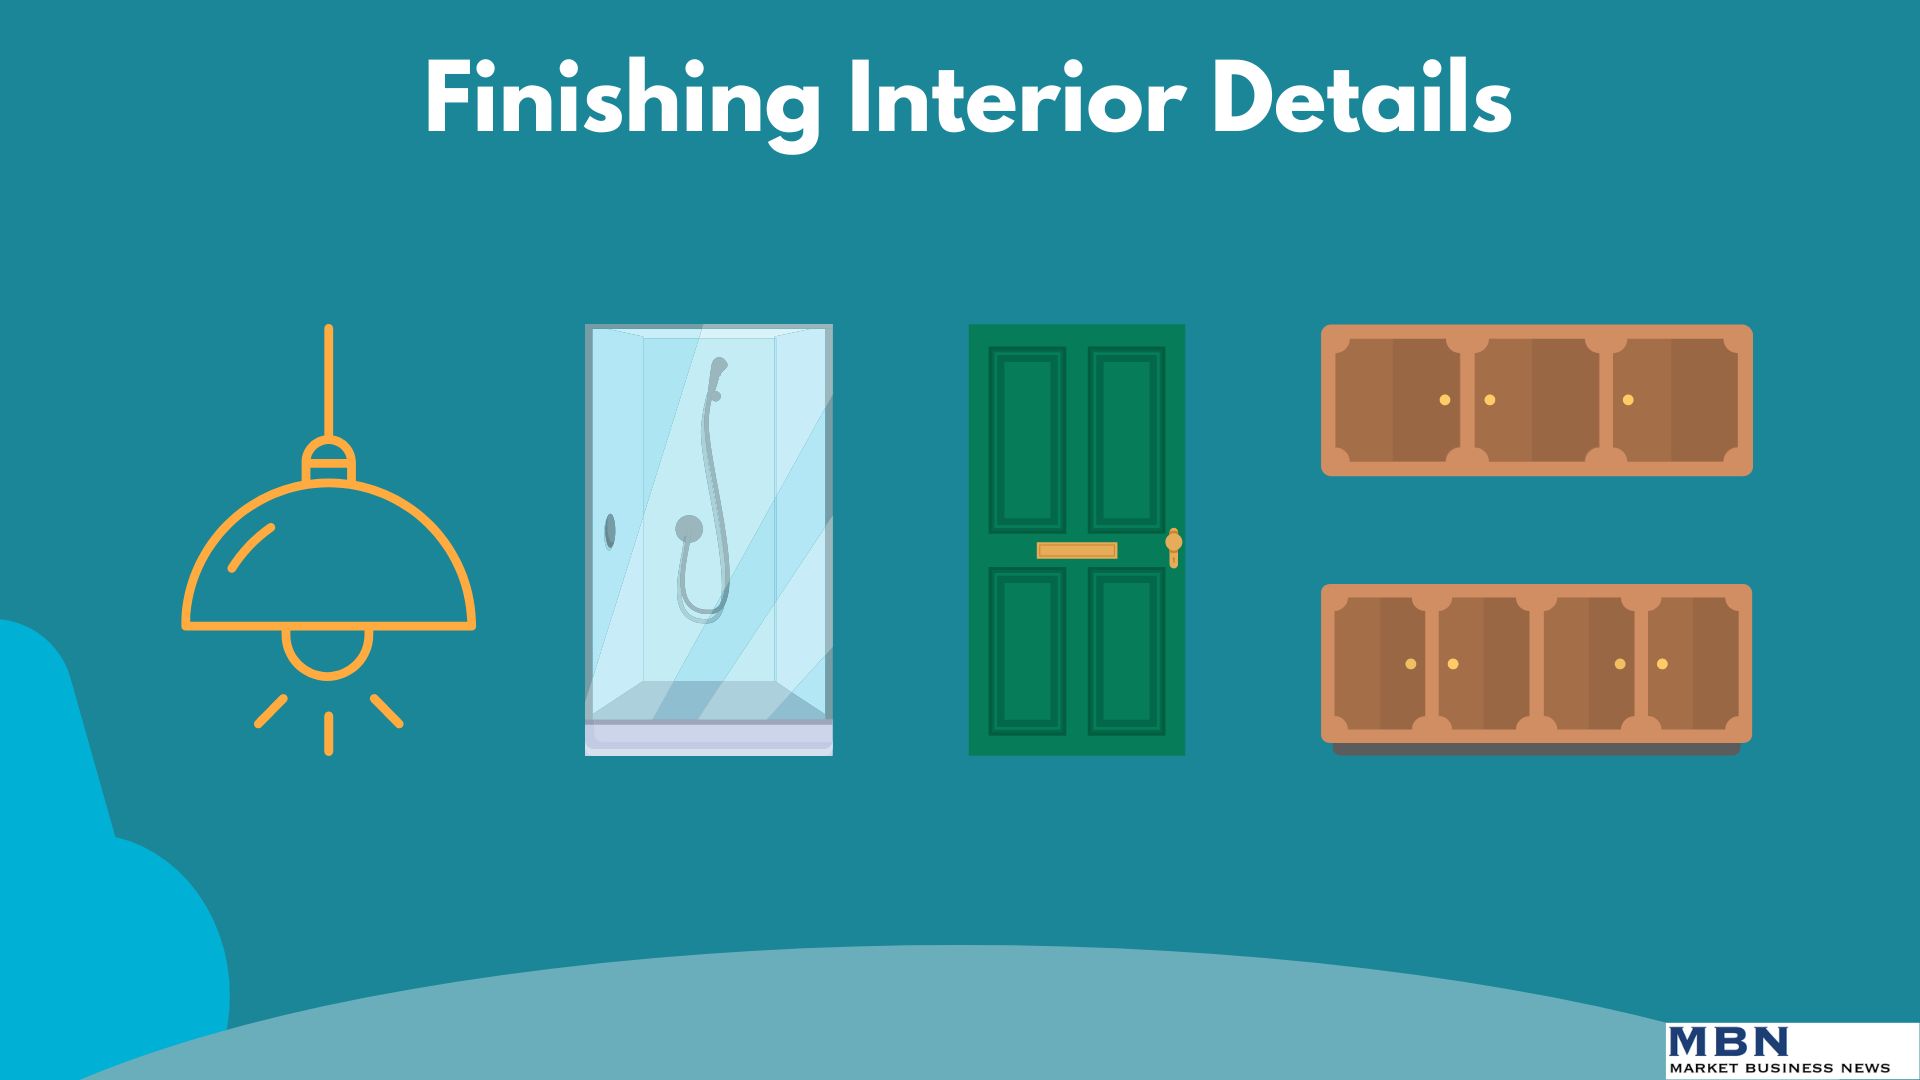
Key Steps:
- Plumbing: Sinks, toilets, showers, and radiators are installed and connected to the previously laid piping.
- Electrical: Light fixtures, switches, sockets, and appliances are fitted, with the electrical system connected to the main supply.
- Carpentry: Skirting boards, doors, and kitchen cabinets are installed.
Time-Saving Tip: Ordering all fixtures and fittings well in advance can prevent delays caused by supply chain issues, which are common in custom builds.
6. Internal Finishing: Plastering and Painting
After the second fix, the home interior starts to take its final form. This is when walls and ceilings are plastered, and surfaces are prepared for painting or other finishes.

Key Steps:
- Plastering: Walls and ceilings are plastered or dry-lined, providing a smooth surface for painting.
- Painting and Decorating: Once plaster is dry, painters can apply primer and topcoats to the walls and ceilings. Flooring materials like wood, tile, or carpet are also installed at this stage.
- Tiling: Bathrooms and kitchens often receive tiled walls and floors, which are more resistant to moisture.
Practical Tip: Skim plastering gives walls a smooth finish and is worth considering for a higher-quality result, especially if you’re aiming for a modern or minimalist design.
7. External Work: Landscaping and Final Touches
While the home interior is being completed, exterior work such as landscaping, driveways, and patios can begin. This ensures the home is ready for occupancy both inside and out.
For many exterior tasks—such as installing soffits, trims, and roofing systems—homeowners often hire specialized contractors with expertise in specific areas. According to Hardie Boys, selecting the right materials and understanding the functionality of each component is crucial to achieving a durable and aesthetically pleasing exterior.
For example:
- Wooden soffits offer a traditional look but require regular maintenance to prevent decay.
- Vinyl soffits provide a low-maintenance option but might not hold up in harsher climates.
- Fiber cement soffits are highly durable, fire-resistant, and require little maintenance, making them ideal for long-term protection.
- Steel and aluminum soffits are also robust choices, with steel being especially good for ventilation and aluminum offering resistance to fire and pests.
Property owners typically entrust such exterior work to contractors with specific expertise, ensuring each aspect of the build is completed to a high standard. Hiring contractors with the right specialization is key to the longevity and appearance of your home’s exterior.

Key Steps:
- Driveways and Patios: Groundworkers create driveways, patios, and walkways, ensuring proper drainage to prevent future water damage.
- Landscaping: Gardens are planted, and lawns or flower beds are established. Topsoil may be brought in to create a fertile growing environment.
- External Fixtures: Gates, fences, and external lighting are installed, as well as any decorative elements like brick walls or garden features.
Cost-Saving Tip: Some homeowners opt to complete landscaping work themselves after moving in to reduce costs. This allows for more flexibility in design choices as you settle into the space.
8. Final Inspection and Handover
The last step before moving in involves a thorough inspection of the property to ensure everything is up to code and built to the expected standard. Any outstanding issues (often referred to as “snagging”) should be addressed before the final handover.

Key Steps:
- Final Inspection: Building inspectors will sign off on the home, ensuring all work complies with local regulations and building codes.
- Snagging List: A detailed list of minor defects (e.g., chipped paint, uneven tile work) is created and addressed before you move in.
- Handover: Once all issues are resolved, keys are handed over, and you can officially take possession of your new home.
Essential Task: Don’t forget to obtain all necessary documentation, including the building completion certificate and warranty information, before moving in.
Building a home is a large and complex undertaking that requires careful planning and coordination at each stage. From the initial groundwork to the final touches, understanding what happens at each phase allows you to stay involved in the process and make informed decisions. Whether you’re managing the project yourself or working with a contractor, this guide should help you navigate the construction journey with confidence.
Additional reference:
How House Construction Works – HowStuffWorks
